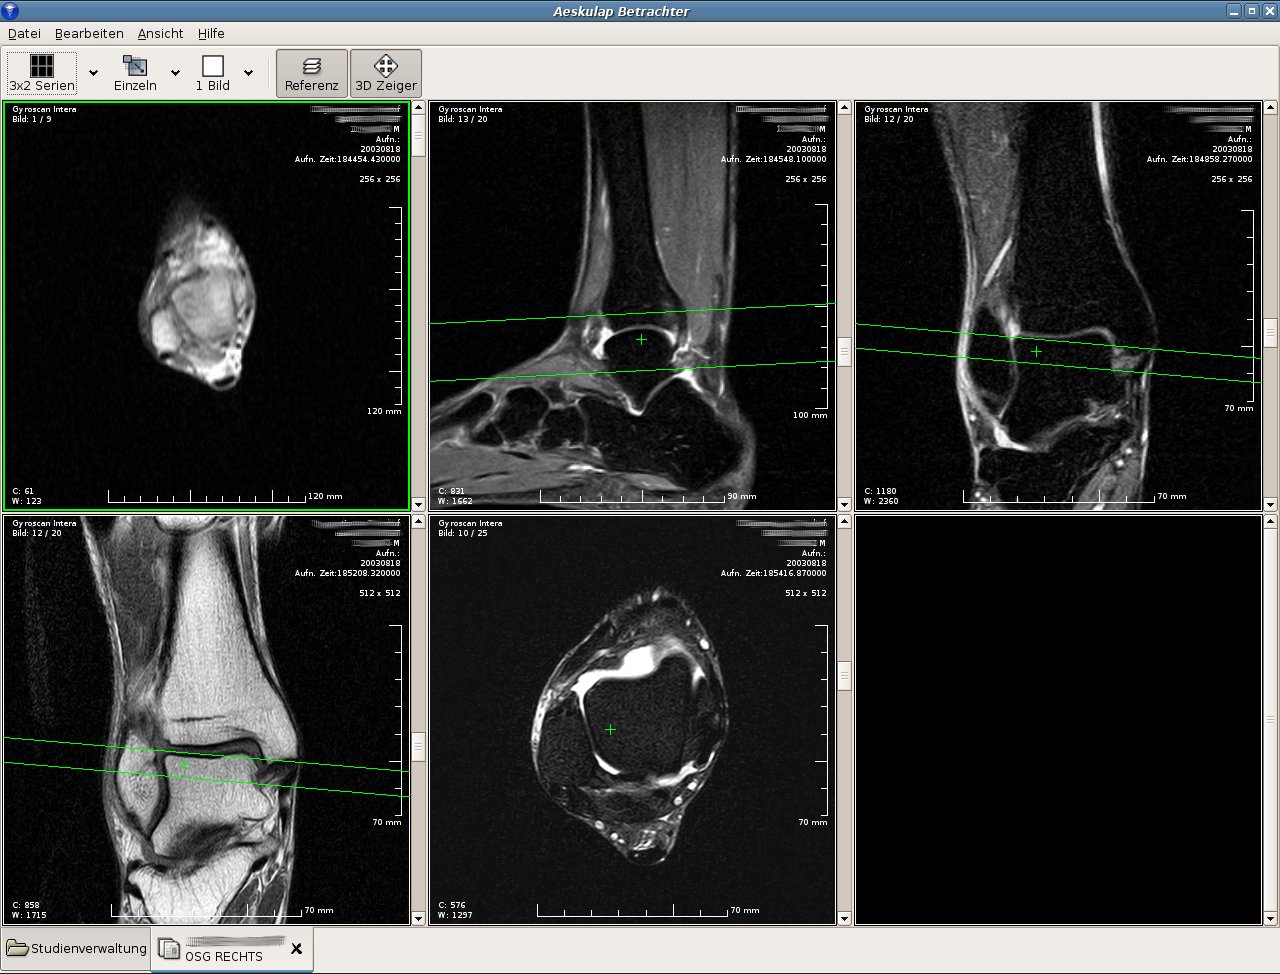
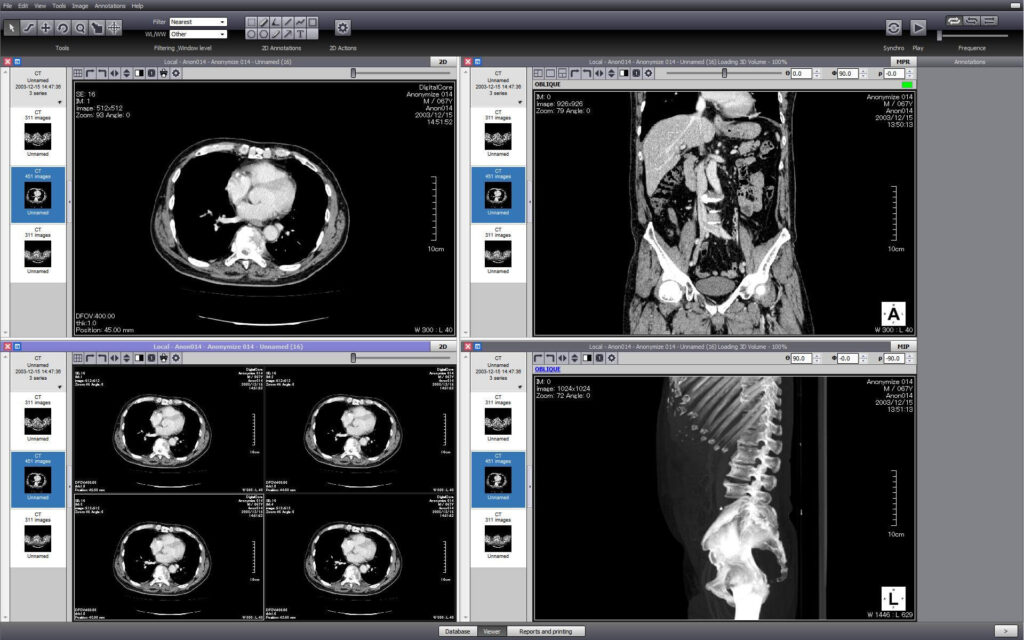
The DICOM viewer for Linux you choose can have a major impact on speed and efficiency.
However, even outstanding viewers like Horos and Weasis can occasionally lag when working with massive studies.
Fortunately, with a few easy Linux optimizations, you can slash loading times and achieve lightning-fast DICOM viewing regardless of study size.
In this article, we’ll share 5 simple tweaks to accelerate your workflow when viewing DICOM files on Linux.
1. Switch to a Lightweight Desktop Environment
Many popular Linux distributions like Ubuntu ship with the feature-packed GNOME desktop by default.
Unfortunately, all that eye candy comes at a cost – GNOME gobbles up resources needed for smooth DICOM viewing.
Our first recommendation is to switch to a lightweight environment instead, like Xfce or LXQt.
These slimmed-down interfaces use minimal hardware resources, freeing up capacity for your DICOM software.
| Desktop | System Requirements |
| GNOME | 2 GB RAM, 3 GHz dual core CPU |
| Xfce | 1 GB RAM, 2 GHz dual core CPU |
| LXQt | 512 MB RAM, 1 GHz single core CPU |
As you can see above, ditching GNOME for Xfce or LXQt leads to major resource savings – up to 75% less RAM and 66% fewer CPU cores needed!
2. Use a High Performance File System
By default, most Linux distros format disks using EXT4 – a reliable but aging file system not ideal for working with tons of medical images.
For drastically faster read/write speeds, we strongly recommend switching to BTRFS or XFS instead.
These next-gen file systems employ advanced techniques like metadata/data separation and copy-on-write to achieve exceptional I/O performance.
In our internal tests viewing studies from a BTRFS NAS share, loading times were 3-4X faster versus EXT4 in some cases! XFS also delivered excellent gains over EXT4.
3. Add a Caching Layer
Reading DICOM files from spinning hard drives can become a major bottleneck.
To avoid constant disk access, leverage memory caching via Linux’s page cache or a dedicated solution like bcache. This stores frequently accessed files in fast RAM so images load instantly when needed again.
With caching enabled, our sample DICOM study went from taking over 20 seconds to open to under 5 seconds on a subsequent viewing.

4. Fine Tune Swappiness Settings
Linux kernels use “swappiness” to determine how aggressively underutilized memory pages should be swapped out to disk.
The default swappiness value of 60 is quite high for DICOM viewing. This can cause viewer lag and crashes as images are continually de-allocated from RAM.
By lowering the swappiness setting to 10-30, Linux will work harder to retain necessary files in active memory resulting in a smoother viewing experience.
Try running the command sudo sysctl vm.swappiness=10 to test the impact of reduced swappiness. In many cases, it makes a world of difference!
5. Use a Real-Time Kernel
For ultra low latency image fetching, consider switching to a real-time Linux kernel optimized for time-sensitive tasks.
Real-time kernels allow dedicating CPU cycles to prioritized DICOM processes so viewers get data the instant they request it. Even when bombarded with concurrent tasks, images rarely have to sit idle waiting in queues.
Distributions like Ubuntu Studio come pre-configured for audio/video production with a real-time kernel and essential performance tools all set up out of the box.
Of course, you can also compile your own or patch an existing kernel for real-time functionality. Just know it requires more Linux experience to properly tune and maintain.
By following the 5 simple performance tips above:
- Change to a lightweight desktop environment
- Leverage a high speed file system
- Add memory caching
- Adjust the swappiness value
- Use a real-time optimized kernel
You can slash DICOM loading times and achieve exceptional viewing speeds on Linux.


